the buffet makeover.

let me start by saying I am very pleased with the outcome of this project, but I need to be honest and tell you that removing veneer is not for the faint of heart. I had zero experience, as this was my first time to do so. and for whatever reason, I thought it would be a single, thin layer of veneer and that would be all. this was not the case. there was the top layer of veneer, another layer of thin cheap wood [I'm no wood expert, but I'd venture to say it was particle board or low grade plywood], bits of glue, and then I got to the real wood.

I also made a few mistakes. as I was pulling veneer off of the sides of the buffet, I felt some thin wood so I yanked at it, thinking it was a layer of the cheap wood over the real wood. this was also not the case. that was the actual side of the cabinet and I tore it off. luckily, my handy husband helped me out and we got some plywood, cut it to size, and secured it into place. this was probably a happy accident because this piece has seen a lot of life and needed a few nips and tucks.

before I began this project, I did a little research on Pinterest to learn how to remove veneer. my original plan was to strip the veneer and paint this piece white. you know, my go-to. but I plan to use it in our baby's nursery and there will already be a lot of white in there, so I decided to try my hand at antiquing wax and give it a stained look. I've never done this before either, so this project was an all around experiment. fortunately, it turned out well.

the materials I used in this project are listed below:

  • gloves [this is probably common sense and a given when it comes to any type of woodworking project. I am an amateur, though, so it never even crossed my mind until I had sufficiently cut and bandaged multiple fingers.] 
  • joint knife
  • damp towel
  • clothes iron
  • orbital sander
  • antiquing wax

some pieces were already chipping and curling up. those were easy to peel off or pop off using the joint knife. and then there were other pieces...

for really stubborn sections of veneer, I found that laying a damp towel down and ironing over hard-to-remove pieces helped to reactivate the glue and, in turn, loosen up the veneer. then I used the joint knife to scrape and lift away the damp wood. our little iron has never seen so much action.

another thing I was excited to try in this project was this antiquing wax. it's by Miss Mustard Seed, who is one of my favorite designers. I love her work, and now I know I love her wax. maybe I'll try her milk paint next!

this project took longer than I anticipated. it probably could have been completed in a weekend or two, if I had worked nonstop. I, however, took my sweet time and many, many breaks. so it took me about six-ish weeks. not my best record, but it's done now and I'm happy with it.

ready to see the finished product? here it is!

I chose to keep the original hardware. I love the aged look of it. besides a few new screws, the handles + hinges are original to the piece.

here's a close-up of the top after much sanding and applying the antiquing wax. I don't usually love stained things, but I love this finish. my husband's grandfather, who helped replace the sides, asked me if I planned on filling in the gaps + worm holes. he couldn't believe it when I told him I planned to keep it just the way it was. I think every scratch, dent, and worm hole adds a little character. 

the missing drawers that used to be in the center of the buffet were broken and misplaced before I got my hands on this piece. I hate that, but I plan to have some wood cut and placed in the middle to make shelves and I'll find some baskets to fill them and create more storage.

this lovely piece of furniture once was a buffet in my husband's great, great grandmother's home, then lived hidden away in an old barn for years + years, and now is going to serve as a changing table + additional storage in our first baby's nursery.

maybe once I finish up the nursery and style this piece, I'll get around to sharing it with you. but don't hold your breath... it could be another six weeks or so.

simple {diy} silhouettes.

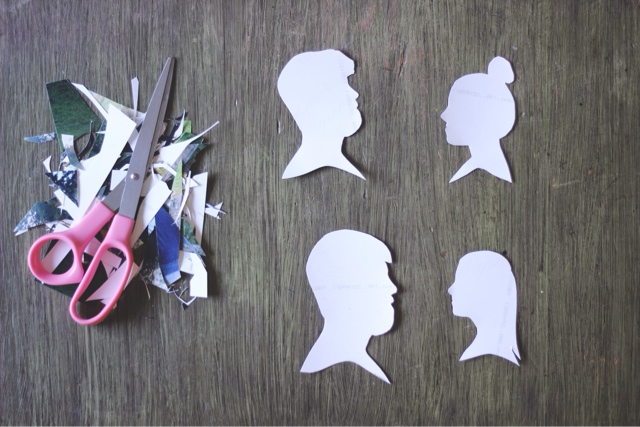
I've always loved the look of silhouettes, so classic and timeless. a few years ago, the children I nanny and I made some of themselves as a Christmas gift to their parents. I loved how they turned out and I've wanted to make my own ever since. about two years later, I finally got around to it. for the first time in the history of the tiny white house blog, I documented step-by-step instructions of the process.

here's what you'll need:

  • printed photos of your subject's profile
  • black acrylic paint [I prefer matte, but gloss can be used as well]
  • paint brush
  • scissors
  • tape, paper, + frame(s) [if you plan on framing]

first, take some photos of the profile in which you plan on doing a silhouette. this step is fairly simple, but here are a few tips to attain the desired look. 

  • take the photos outside. [this is also my number one tip for taking any photo. this is why I'm always hauling furniture outside to photograph it.] I've found that the natural light will help create crisp, clean lines, which will make for an easy cut.
  • for girls, the hair needs to be fixed in a way that will, for lack of a better term, look good in a profile shot. if your hair is shorter [above your shoulders], wearing it down is an option. if it's longer, it works best to have it up. I did some with my hair half up, half down, and it worked, but not as well as having it up. so I played around with it and tried a few different things... high bun, low bun, pony.
  • if you want a larger silhouette, you should take the photo in portrait format. if you want smaller, try landscape. for the silhouettes I made of the children, I chose to do a larger version. I took a close up photo in portrait format and ordered an 8x10 print. this time, I did it in landscape format. I ordered a few prints of the same shot in two different sizes [4x6, 5x7] and just played around with it. eventually I'd like to do a larger version of our silhouettes.

as far as ordering prints goes, I order gloss prints [though I prefer matte otherwise] from CVS or Walgreens. keep in mind, the prints don't have to be anything fancy. you'll be painting over these.

now that that's taken care of, it's time to get to work! carefully cut around the subject's profile in the picture. this step can be a little tedious, as you have to be precise and cut just so, so that a nose isn't too sharp and the hair is just right.

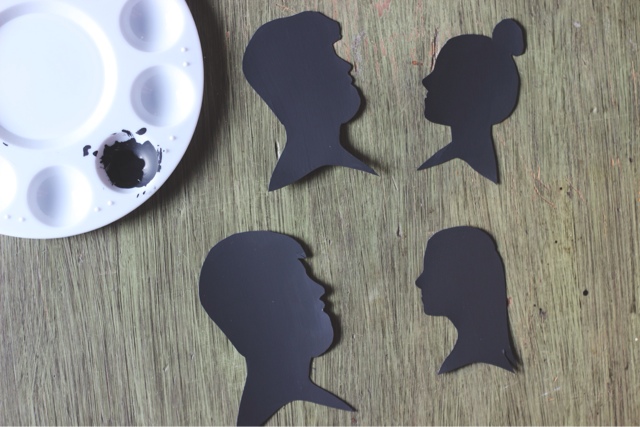
next up: painting. two to three coats of black paint will do the trick. just remember to leave time to dry between each coat.

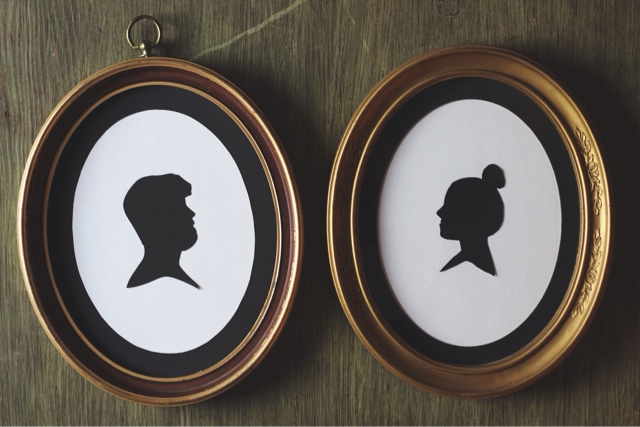
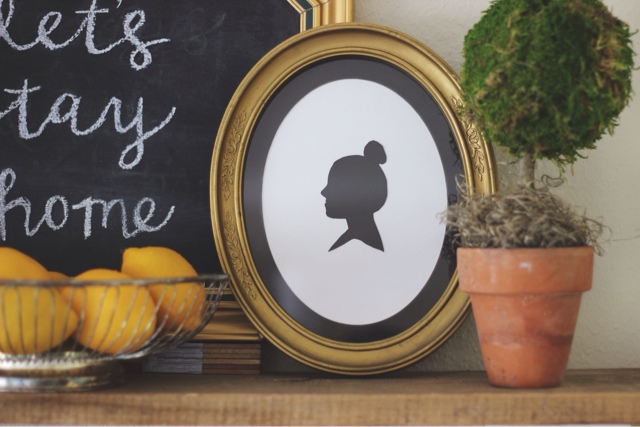
now it's time to frame them! or do whatever you want to with them. I had two gold oval frames that I'd found at Goodwill, that I thought would be just perfect for silhouettes. after thoroughly cleaning and completely shattering the glass in one of the frames, I used double sided tape to attach the silhouettes to paper and frame them.

what do you think? would you ever make these?

bedside table transformation.

This little side table belongs to my husband. it was purchased for his first college apartment just a few years ago. it is one of the pieces of furniture he brought into the marriage. it's been sitting in the corner of the spare bedroom, or man cave as Drew so affectionately refers to it, neglected for the past year.

Truth be told, I'd never really looked twice at the thing. it wasn't ugly, so it passed my inspection. but last weekend, I looked at it with fresh eyes and saw the potential. it's tiny. it probably wouldn't be tall enough to actually be a bedside table for our bed, as ours is on risers. but it's the perfect height to be a side table by the couch. and I can just picture it as a bedside table in a little boy's room someday.

I am a fan of chalkboard paint. who isn't these days? I've done a few projects with it... painting over framed thrift store artwork, boards, and even cardboard to make chalkboards. I had never considered painting furniture with it, though. but something got into me last weekend and I decided to give it a try.

Once again, I have no documentation of the process. but once again, it was fairly simple. I used Rustoleum Chalkboard Paint. I removed the drawer pulls, did a light sanding, and applied 2-3 coats of paint. I let it dry overnight. and the next morning, I "seasoned" it with chalk. I lightly rubbed chalk over the entire surface and then used a felt cloth to wipe it down. I was so happy with how it looked!

I also wanted to update the hardware on it. I think this is the thing I was most excited about. since I'm into gold these days, I decided to head in that direction for the drawer pulls. I've always loved the look of card catalogs; and even though this is clearly not a card catalog, I wanted it to have that feel. so I looked online for some pulls similar to that and found some at Home Depot. the most difficult part of this project was waiting for the drawer pulls to be delivered. I checked the order tracking obsessively. multiple times a day, every day, for a week. it felt like Christmas the day they arrived!

It could be an unconventional canvas to be drawn on [so it'd be perfect in a kid's room!], but I'd prefer it to not be used as a chalkboard. I just liked the slate appearance the chalkboard paint gave it. I'm so happy with the finished product and I hope you love it, too!

sources:
chalkboard paint | Rust-Oleum Chalkboard Paint
drawer pulls | Home Depot [online]

the goodwill chair makeover.

One of my very favorite stores is the Goodwill. I can always find a treasure there, whether it's a worn antique couch [one of my best finds to date] or a chipped cake stand. treasure hunting—it's one of my favorites hobbies.

my sister moved cities last year after graduating from receiving her Masters [she's a go-getter, clearly] and started her first big girl job as a special education teacher. she needed a chair for the desk in her bedroom, so I kept my eyes peeled. after a few months, I came across this beauty at our Goodwill for just $9.99!

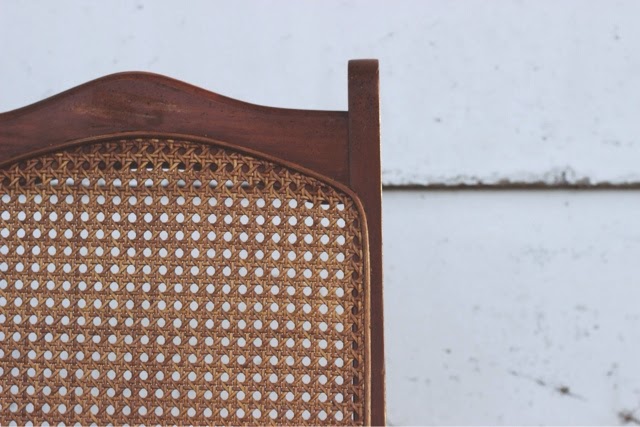
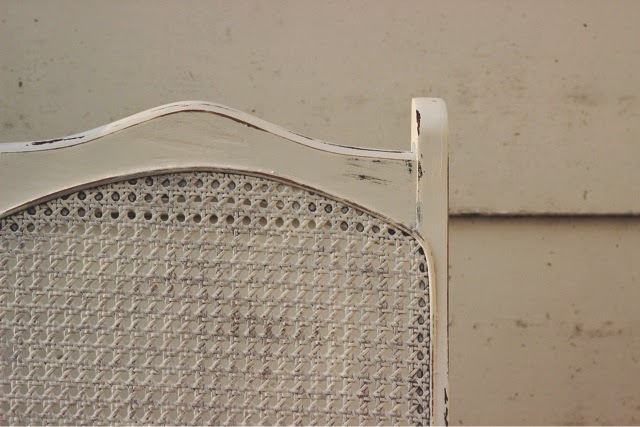
I loved the French cane backing and that's pretty much what did it for me. it needed a little paint + good reupholstering, but that wouldn't take much. so I bought it, brought it home, and immediately let it sit in my garage for about nine months. as you can see, I could take a few lessons from my go-getter sister.

This past weekend, I figured it was a good time to sand it down and get to work. I don't have photos of the painting or reupholstery process because 1) I just didn't take any and 2) it's really a simple process. anyone can do it. and I just used regular ol' latex paint because I don't mind sanding.

The "fabric" I used is just a canvas drop cloth you can find at Home Depot. we used these for our wedding reception as tablecloths and they've been used since as curtains, ottoman covers, and now this. I used a staple gun to recover the seat. since this was my first "reupholstery" project, my craft veteran mom helped because the corners are a little tricky.

I did a light sanding, used about three coats of paint, lightly distressed it, and here's what it looked like when I finished… 

I'm really pleased with it. it's simple, but classic. and I wish it was mine.

But to sister's house it goes!