the nursery | pt. iii

a nursery for two.

IMG_1850.jpg
IMG_1875.jpg

If you've been following the tiny white house for any length of time, you know I have shared before about the nursery.  this room is ever-changing and has quite evolved since the need for a nursery arose nearly three years ago.  the first, original nursery flooded, along with our house, in the spring of 2016.  we set up a second nursery when we moved in with my parents temporarily. you can read about that nursery here.  the nursery changed again when we bought our first home, spent months renovating it, and moved in in March 2017.  click here to read more about the nursery pt. ii.

some of the changes made were subtle.  other changes were more noticeable, such as furniture placement.  last summer, a not-so-subtle change took place—not only in our nursery, but also in our family—as we welcomed another baby into the world.

in November 2016, days before Grey turned seven months old, we found out our little family was growing.  this certainly came as a surprise, but has turned out to be the best thing, better than anything we could ever have planned.  apparently God really does know what He's doing.  I wanted the babies to share a room, regardless of the gender [we continued with the element of surprise and didn't find out].  and on July 20th, 2017, we welcomed our second baby, a little boy named Rhett.  the sweet nursery for our first child became a nursery for two.  

here's a flashback of how the nursery used to look:

IMG_4085.jpg

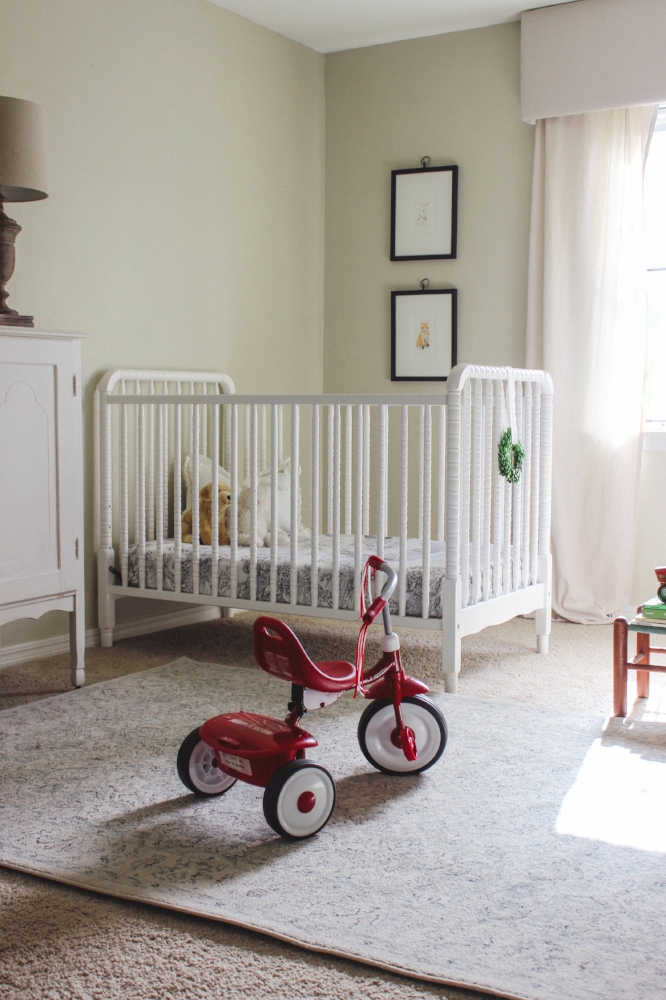
and here is how it looks today...

IMG_1781.jpg

Something we realized about halfway through my second pregnancy is that we would have to purchase another crib.  for some reason, it took awhile for this thought to register.  you see, when we bought the sweet Jenny Lind crib that our firstborn sleeps in, I assumed that would be the very crib that all of our children would sleep in.  turns out when you have babies nearly fifteen months apart, you may need more than one crib.  when I sat down to order a second Jenny Lind crib, this message flashed across the top of the screen: "you already purchased this in February 2016."  yeah, I know, Amazon. thank you for the reminder.

IMG_1860.jpg
IMG_1976.jpg
IMG_1959.jpg
IMG_1967.jpg
IMG_1624.jpg
IMG_1727.jpg
IMG_1678.jpg
IMG_1895.jpg
IMG_1944.jpg
IMG_1966.jpg
IMG_1935.jpg
IMG_1905.jpg
IMG_1637.jpg
IMG_1942.jpg
IMG_1877.jpg
IMG_1644.jpg
IMG_1870.jpg
IMG_1838.jpg

I loved Grey's original bedding.  I chose a simple blue ticking for the fabric and my husband's precious grandmother sewed a darling crib skirt with a box pleat.  after we found out we were expecting again and I began to daydream about nurseries, I realized I would have to get another crib skirt made to match.  she is the sweetest woman and I know she would happily have done it, but I hated to ask this of her.  after thinking on it, I decided to do away with the idea of crib skirt completely.  I would just buy matching crib sheets. after all, less is more.

one day, I googled "toile crib sheets" and that's how I happened upon the crib sheets I ended up ordering and using.  the brand is Sweet Jojo Designs and I purchased them online from Bed Bath and Beyond.  toile has always been a favorite pattern of mine, so the thought of getting to use it in the nursery thrilled me.

Since the very first nursery, a potting bench has served as our changing table.  this is one of the first pieces of furniture I bought for our home.  I found it at a garage sale for $40 a few months before Drew + I married.  in the original tiny white house, it sat in our living room as our entertainment center.  it has been in the nursery ever since.  the boys absolutely love it.  they like to climb onto the lower shelf to sit and play.  I think I'm ready to transition it outside to use it as an actual potting bench, but I'm hesitant.  I've loved this piece in the boys' room and I know taking it away won't be popular with them. 

IMG_1977.jpg
IMG_1843.jpg
IMG_1767.jpg
IMG_1706.jpg
IMG_1640.jpg
IMG_1980.jpg
IMG_1629.jpg
IMG_1883.jpg

The window treatment didn't necessarily need updating, but since I was in a sprucing mood... my husband built a cornice board.  I actually used the same window panels as before, I just added the cornice board for a little something extra.  as most of our projects do, it took much longer than it should to complete; even still, I love how it turned out.

IMG_1921.jpg
IMG_1855.jpg
IMG_1930.jpg

We had to rearrange some furniture to make room for a second crib, obviously.  but all things considered, I am just tickled with the finished product.  in fact, I love this space so much, which is good since we spend much of our time in it.  I originally composed this post in May 2017, few months before our second baby arrived.  the closing line read: I can't wait to bring home another precious baby and for all the memories that will be made in this sweet shared nursery.  and now, more than a year later, that second baby is a one-year-old and I am finally getting around to publishing it.  I will forever cherish the memories being made by the sweet brothers that share this room.  it is the joy of my life raising two little boys, watching them grow + become friends, and waking up every morning to their laughter [and let's be real—some days tears].  sometimes I can't believe this is my life.

IMG_1948.jpg

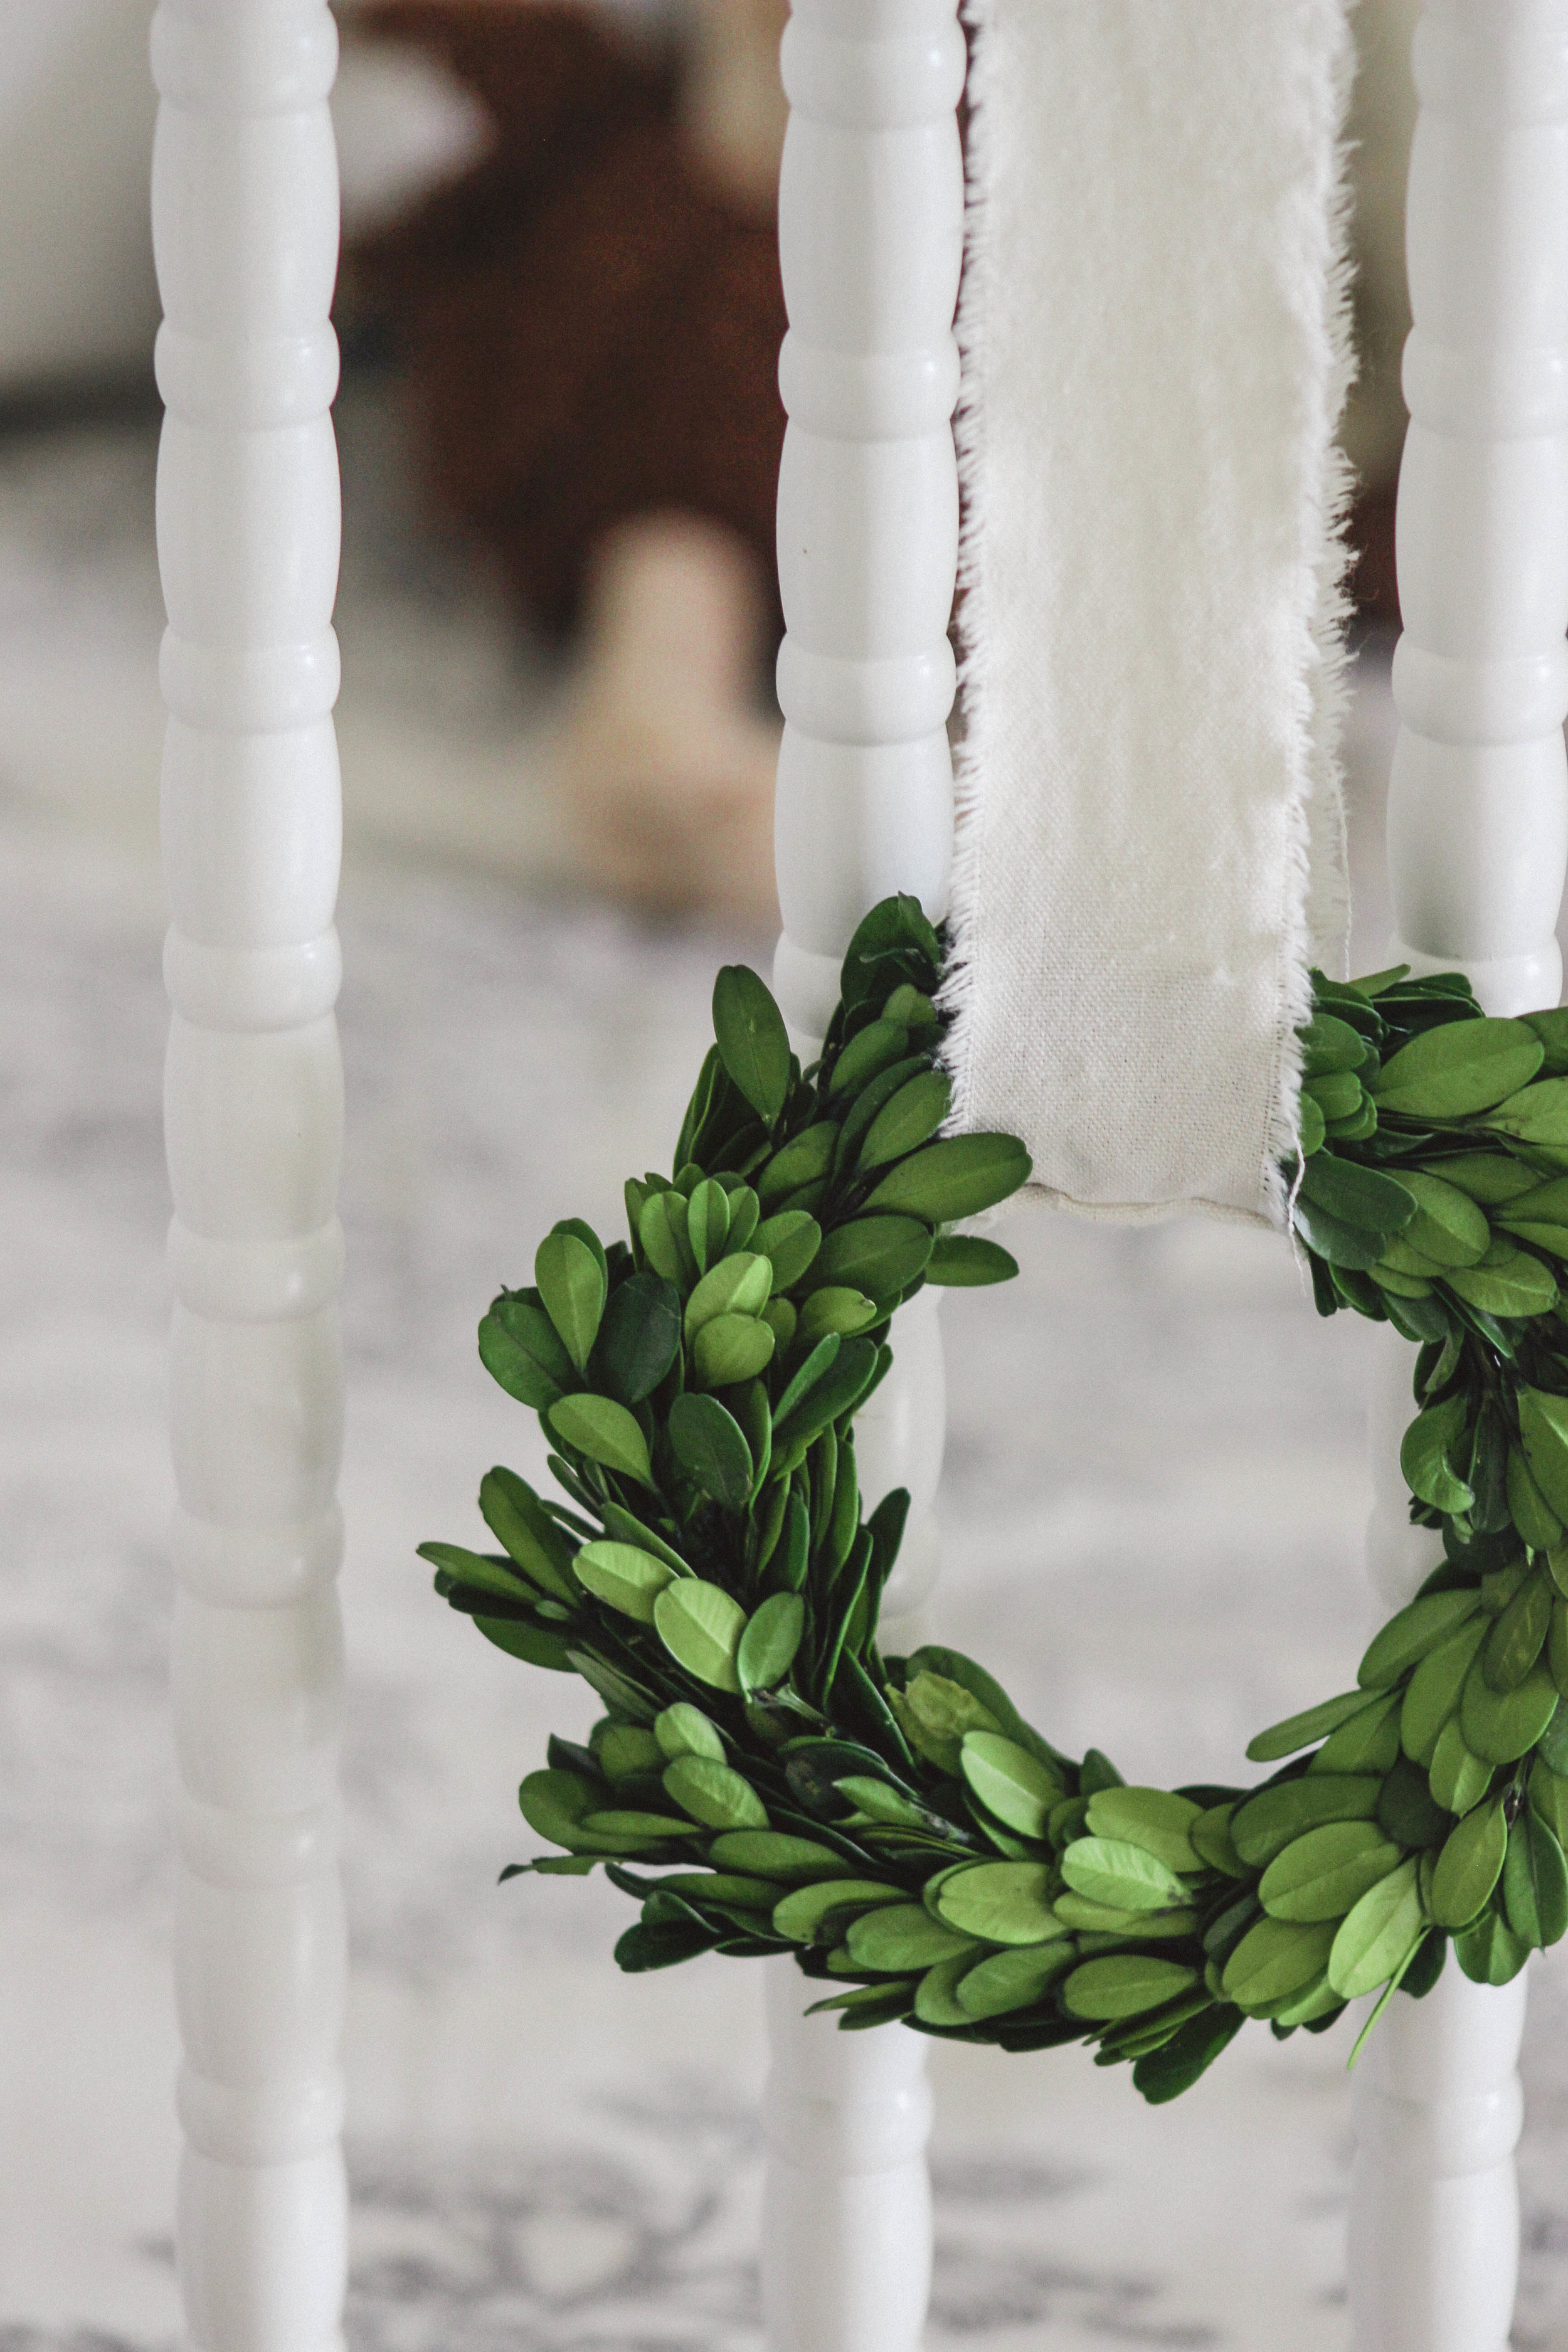
full disclosure: because I want to be transparent and not create the illusion that my house and children are always clean + perfect, I want you to know that this precious nursery very rarely looks this nice.  after all, there are two busy, little boys living in it.  the boxwood wreaths hanging on the cribs, though idyllic, are a safety hazard I'm sure and the boys have been known to rip leaves from them by the handful.  I threw them up for the photoshoot and took them down immediately after.  the books and other accessories pictured do belong in the nursery, but are used less for reading and aesthetics and more for throwing and playing.  but I have learned [read: am learning] that this is okay.  I want my children to be free to play and make messes and not be afraid to touch the things that make their room, and our home, the special place that it is.  I once heard it said, "it doesn't have to be perfect to be beautiful."  isn't that the truth?


sources

Jenny Lind Crib | Amazon
 toile crib sheet | Sweet Jojo Designs via Bed Bath and Beyond
Sutton Glider in Linen | Best Chair
 

diy crib mobile.

Recently on the blog, I shared a little about our baby's nursery.  one of the things specially created for his room was the crib mobile.  today, I want to share a tutorial with you on how to create this crib mobile.

materials needed:

  • embroidery hoop
  • fishing line
  • x-acto knife + scissors
  • tissue paper
  • embroidery needle(s)
  • sewing thread
  • book of your choice
  • paper + pencil
  • drill with a 1/16 bit

First, I read through Robin Hood looking for the best parts. you know what I mean... the meaningful parts with good words and strong imagery. the parts with the most adventure and love and excitement. this step is important because our baby will be able to read from the time he exits the womb, so I want him to have the best parts of the story floating over his sweet, little head. okay, so no. this step was more for myself. I wanted favorite parts of the story like... when Robin Hood + Little John meet, when he's reintroduced to Maid Marian, when he shoots his last arrow... you get the idea. the good stuff.

In case you haven't noticed from reading my blog, or if you know me personally, I'm a word girl.  my mother has always described me as wordy.  if I ever tell you a story or something that happened in a book or show, be prepared to stay awhile.  I really don't mean to be.  but there's just so many good words out there and I like a lot of them and I use a lot of them to say the things I say.

So, I skimmed through Robin Hood and picked out my favorite parts and marked them.  these would be our clouds.  next, I took the x-acto knife and begin to cut these pages out.

My little sister helped me with this project and she's a real artist.  we decided it would be best for aesthetics + symmetry + balance to have two small clouds and two large clouds. she sketched a stencil for our small cloud and I did one for the larger clouds.  we did this with a pencil and notebook paper and sketched until we came up with a cloud shape we liked.

then, I took the clouds and placed them on the page, over the words I wanted to be seen.  because I'm so wordy, this part was a little sad + hard because I couldn't fit the entire quotation as these are little bitty clouds.  I would've loved to have had the full excerpts I had chosen, but that just wasn't doable.  [one way to make this work would be to mat + frame the excerpts, rather than cutting them into the shape of a cloud.  that's one of my favorite, super easy crafts that makes for beautiful, yet different framed art.  I have a few of these type of framed pieces in my home, ranging from hymns to poetry to stories.]

I traced my little clouds over the book pages and then cut them out with scissors.  one thing to keep in mind when tracing the clouds is this: after you trace your cloud, you'll need to flip your cloud stencil over to trace your next cloud, so that it will match up when it's stitched together.  this is one of the easier parts of this project.

After the clouds are all cut out, it's time to sew!  we took little pieces of tissue paper, crumpled them up, and flattened them back out.  this is what we stuffed our little clouds with.  I wanted them to have some volume and this was the best I could come up with for stuffing.  next, get out your needle and thread and get ready for the fun part!  and by fun, I mean most tedious, time-consuming part.  once you thread your needle, start stitching your clouds together.  I would sew the cloud about halfway around and then begin stuffing it with bits of tissue paper.  this part really doesn't take too long, it just takes the most attention.

I took the inner hoop of the embroidery hoop [the one without the hardware], white-washed it, let it dry, and then drilled holes.  actually, I let my husband do that step.  I never want him to feel left out of my projects, so I try to always find something for him to do to be a part.  that last line should actually read: I always need help with at least one part of my projects, so I beg him to help me.

he took his handy drill and used a 1/16th drill bit and drilled four holes, one across from the other, evenly around.  then, I took two pieces of fishing line, probably about two feet in length and inserted them into the holes on the embroidery hoop.  they crossed over each other and I gathered the four strands together and tied a knot.  [this sounds confusing, but there are photos below that will make this step more clear]  after this, I cut a shorter piece of fishing line, threaded that through the embroidery needle and into the top of the cloud, and tied a knot.  I took this piece of fishing line sewn onto my cloud and threaded that through the hole on the embroidery hoop and tied a knot [several times so it wouldn't slip through].  I repeated this step until all four clouds were fastened to the hoop.  I didn't measure the exact length of fishing line the clouds would hang from.  I eyeballed it and purposely made them to hang at different lengths.  I did intentionally hang the two larger clouds across from each other on the hoop and the smaller across from each other to create balance + symmetry.

my husband placed a screw hook in the ceiling, and after cutting one more piece of fishing line about two feet long, I looped it under the knot that held the four strands together.  then we hung it from the ceiling.

I wrote this post just weeks before our baby arrived.  he's here now!  even though he's not sleeping in his crib yet, he took a little nap in it one day and I couldn't resist snapping a photo of him under his sweet little mobile.

thanks for reading + hope you enjoyed!

the nursery.

On August 29th, 2015, my husband and I found out we were expecting our first baby. we were stunned and so unbelievably excited. it didn't seem real for the first few months [still doesn't sometimes], but eventually it began to sink in as we began to prepare for this sweet baby and all the changes that would take place.

One of the things I was most excited about was creating a nursery. I had a vision in mind of what I would like for a boy or a girl. it wasn't a one-size-fits-all, gender neutral nursery; but it would have been very similar, regardless of the gender. I wanted simple, classic, quiet.

The day before thanksgiving, we found out we were having a boy! I was ecstatic. I've always wanted an older brother, so I always dreamed of having a boy first. this was literally a dream come true.

As excited as I was about decorating a nursery, I didn't really get started on it until March. I'm sure this surprised some; it surprised me a little. but I didn't want to jump the gun; plus, we had lots of furniture and things to shift around to make room for baby.

The day before my first baby shower, I finished the nursery. mostly, anyhow. several of my precious friends came in town for the shower and that gave me the motivation I needed to really wrap things up in the baby's room. I'd been dreaming about what I wanted our nursery to look like for months, maybe even years, and slowly gathering + collecting these items the previous eight months.

so one Friday morning, my parents came over to help bring all my dreams to life. my dad hung the curtains my mom had sewn for the room, on the curtain rod he painted the perfect shade of gold that I had searched months for. a beautiful, antique garden gate hung on the wall over the buffet [now a changing table] and a boxwood wreath hung over that, like a bow on top of a gift. my artist little sister created priceless artwork that decorated the walls, sweet watercolor paintings of baby animals. the buffet and armoire I spent hours, even weeks, restoring and refinishing looked just like they belonged, just like I envisioned. the crib that my husband so lovingly assembled sat in front of the one window in the bedroom, framing it perfectly. the crib skirt our baby's great grandmother made rested around it, gently flowing onto the carpet.

it. was. perfect. it was my new favorite room in the house. I loved walking in there. I found any excuse I could to do it. it was everything I dreamed it would be and more. 
and then on March 9th, less than a week later, our home flooded. this crazy, unexpected rain rolled into town and flooded homes, streets, businesses, churches, everything. it was devastating. and the tiny white house was no more.

So, here we were, eight months pregnant and temporarily displaced. my gracious parents have taken us in for the time being. and we had to set up a nursery. again. this time wasn't quite as fun or exciting. it was marked with tears and sadness and bitterness and even a little anger. it actually took me a little while to get around to doing anything because I had already done it all and set up this perfect [to me] nursery and then it was washed all away, along with the rest of our home.

but my family was so kind and gentle and patient and helped me to slowly pull myself together and recreate this nursery for our baby. and you know what? it's even better than I dreamed it'd be.

it is now complete, minus the little boy who will one day make his home here.

The beloved buffet-turned-changing-table that has been in the family for years did not make it through the flood. talk about heartbreaking. I cried many tears over this. then we decided to improvise with our potting bench, which used to serve as our entertainment center. this was the first piece of furniture I ever bought for our home. before we were married, I snagged it at a garage sale for forty bucks. it's one of my favorite pieces. I'm sad that the buffet couldn't weather the storm, but I love that this piece is getting use again for yet another unconventional purpose.

My sister + I created this little mobile to hang over the crib. I wanted something sweet and serene and, frankly, not stupid to use as our crib mobile. so I came up with this idea of little floating clouds made from book pages. I cut out some of my favorite excerpts from Robin Hood and used them for my clouds. you can find a diy crib mobile tutorial here.

thanks for taking a look! hope you enjoyed.

"even the sparrow has found a home, and the swallow a nest for herself, where she may have her young—a place near your altar, O Lord Almighty."
Psalm 84:3


times are changing! read about the nursery pt. ii here and the nursery pt. iii here.