laundry room remodel | pt. i

the before.


I tend to wait until a project is complete to share it here on the blog.  but this time, I decided I'd share this project as we go, updating you along the way... because honestly, when it comes to home improvement projects, things can move a little slow at the tiny white house.  that's not necessarily the speed at which I like to do projects, but that's just life right now.  and slow progress is better than no progress, right?


IMG_2455.jpg

Despite the desperate need for updates throughout our home, there were several features that stood out the first time we saw our house.  it had good bones, if you will.  the laundry room was a prime example.  at 8' by 10' with two windows, it is an open, airy space, far different from the tiny laundry closet in our first home.  I had big dreams for this space the second I laid eyes on it.  I knew it held such potential.  one of the main reasons I want to make the most of this room is because it is seen.  while we don't exactly "hang out" in it, our laundry room is directly off the kitchen and open to the side entry, or friend's entry.  it also leads to the garage.  plus, there is no door to the laundry room, so there's no hiding what's in there.  we might as well make the most of it!

IMG_0527.jpg
IMG_0542.jpg

With so much else on our to-do list [see extensive list pictured above], though, the laundry room just got the basics: popcorn ceiling scraped, wallpaper border removed, a fresh coat of paint, a new light fixture, and new tile flooring.  this did wonders for the room, of course; but my vision was far from complete.

since this is larger than the average size laundry room, I really wanted to take advantage of the space in this room, using every single inch.  here is the game plan:

  • replace upper cabinets with open shelving
  • refinish laminate countertops
  • paint lower cabinets + update cabinet hardware
  • install some type of locker system, whether it be wooden built-ins or metal lockers
  • create a home office + command center
IMG_0552.jpg
IMG_0548.jpg

CABINETRY

the cabinetry, though dingy and worn, provides excellent covered storage.  I considered keeping the existing cabinets and getting new cabinet doors, but the upper cabinets were small and the shelving was practically useless—too short to store cookbooks or a box of detergent upright.  of course, I could lay books sideways; but the more I thought about it, I really wanted to have a little open shelving.  I know this is very "in" right now.  as a rule, I tend to steer away from anything trendy.  but since this is a small space, I thought it would be a good place to experiment.  besides, I am fairly confident I can create open shelving that is both timeless and traditional.

IMG_0534.jpg

COUNTERTOPS

the lovely, blue laminate counter boasts a stainless steel sink, albeit small.  but that dusty blue obviously has to go.  I considered painting it, but am leaning more towards refinishing it using a concrete overlay.  there are roughly one million blogs giving detailed tutorials on this and reviewing why concrete countertops are awesome and/or horrible, so I'll leave that to them.  for us, the choice was easy and meets all our criteria:

  • it fits the budget
  • I like the way it looks
  • my husband doesn't want to do it

that's how I know it's the perfect fix.  but seriously, after much research, this is our best option.  many of the articles I read mentioned scratching + staining as one of the downsides of concrete countertops.  since this isn't a high traffic area and since it is in our laundry room, I'm simultaneously not too worried about that and preparing myself to be okay with such things happening.  after all, this is a laundry room and a scratch or stain on the counter is far from the end of the world.

IMG_0550.jpg

LOCKERS

I also wanted some type of locker for storage, whether it be built-in or actual metal lockers.  there is a perfect spot for this, in the corner right next to the door that leads to the garage [pictured above].  for awhile, I was set on built-in wooden cubbies.  it seemed like it would be more difficult to find the kind of metal lockers I liked for a reasonable price, so I thought built-ins would be easier.  again, this was not at all a priority and we never even got around to getting measurements or supplies to build lockers.  then one day last February, I found some for sale on Facebook.  an old gym in town was being remodeled and they had tons of lockers they were getting rid of.  I got a set of six for $72.  I had been looking for awhile and never seen any that I liked as much and none as cheap, so that seemed like a good deal to me.  here they are, sitting in our garage... where they've been for the past seven months.  they still need a little work, but I think they'll be perfect for this space.

IMG_2410.jpg
IMG_2427.jpg
IMG_0531.jpg

HOME OFFICE

my husband gave me a beautiful, antique table for Christmas a few years ago and I knew it would be perfect as a desk.  I tend to write, draw, make lists, jot things down in my planner, etc. from the comfort of my bed.  now don't get me wrong—I don't ever mind snuggling up in bed for any reason.  however, it would be nice and more practical to have a spot specifically for these tasks—a command center, if you will.  eventually I'll clear this pretty little piece off.  until then, it makes for an excellent catchall.

PROGRESS

the last week of August, we decided to make September a no spend month.  I was itching to do a project [shocker, right?] and with the boys at their grandparents' overnight, it seemed like the perfect time to get started on our laundry room!  of course, since we're on a spending freeze, there's only so much we can do.  lucky for us, demolition is F-R-E-E.  early Saturday morning, we got to work and removed the upper cabinets.  our home renovation didn't require much demo, so this was kind of a first for us.  it took a little elbow grease as the cabinets were glued to the wall, but we got the job done.  since I was in work mode and had leftover paint from other projects, I went ahead and painted the lower cabinets.  our house was built circa 1980, never updated, and the cabinets didn't get a fresh coat of paint when we moved in in early 2017, so it was much needed.  I can't wait to pick out new hardware and install it!

IMG_2428.jpg

it's exciting to see my vision come to life... slowly, but surely.  maybe when October rolls around and we can spend money again, we'll knock more things off the to-do list.  I can't wait!  stay tuned for progress reports...

IMG_2451.jpg

 sources:

wall color | Wool Skein by Sherwin-Williams
light fixture | Lowe's

framed baby clothes and how I know my husband really loves me.

IMG_5314.jpg
IMG_5287.jpg

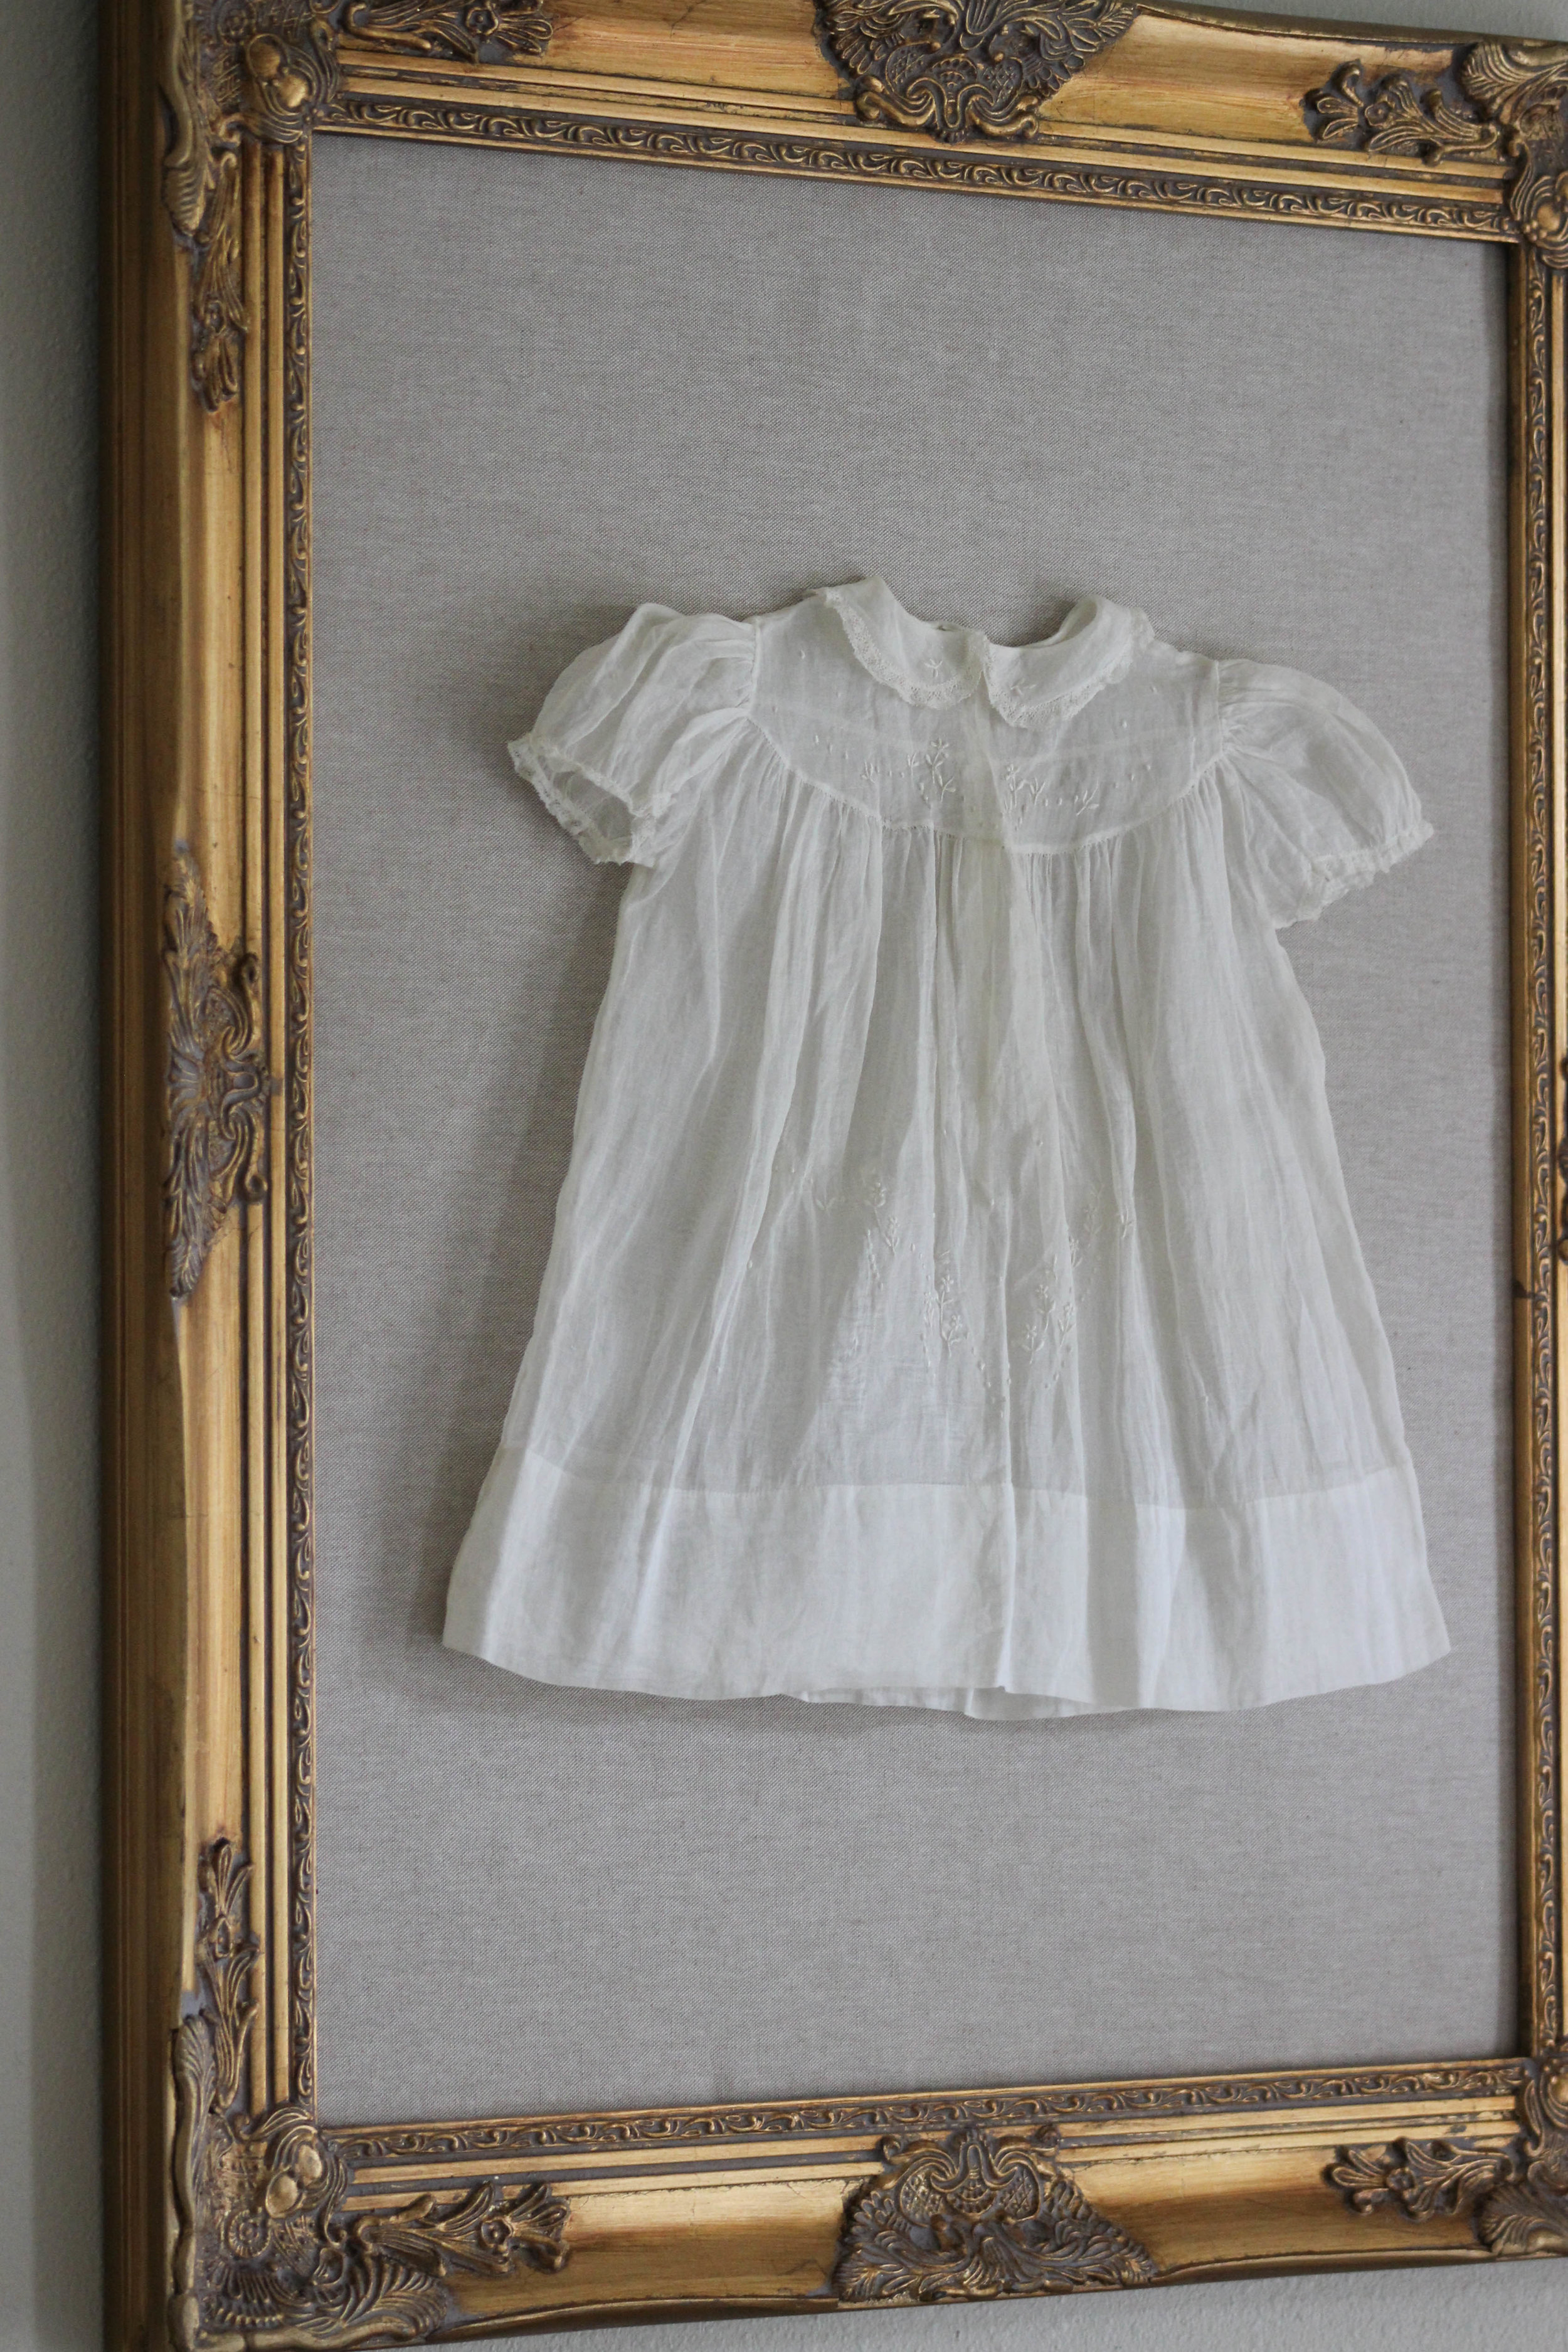
I wish I could say this ivory baby dress had been mine or is a priceless family heirloom, passed down for generations.  but the truth is, I found it in a favorite thrift + junk store of mine.  it was a steal at just five bucks!  however, the day I found it, I already had several other items I was purchasing.  I guess that little dress would've put me over, so I hid it on a rack between some old quilts, with the intention of coming back for it.

IMG_5313.jpg

A few nights later, my family and I were celebrating my birthday over dinner.  we dined under the trees in my parents' backyard, feasting on shish kabobs at a pretty table my mother had set.  after I blew out the candle on a homemade molten chocolate cake, I began to open my gifts.  wouldn't you know each of the little treasures I found days earlier while shopping with my sister were wrapped up in a cardboard box?  among them was that sweet little ivory dress.  my sister snapped photos of things that caught my eye, hid them when I wasn't looking, and then sent my mom the pictures and the hiding places.  then, my mom went on hunt to find these items and surprise me with them for my birthday.

it makes me smile remembering this.  I'll never forget the thoughtfulness and intentionality of those sneaky girls.  and even though it's not an heirloom from my family, per se, it's still a family heirloom from someone's family and I am more than happy to give it a place in my home.

The fabric + frame are from Hobby Lobby.  the fabric is a beige linen and cost $16.99/yd.  with my coupon, I got a yard and a half for about $16.00.  typically, I would have searched for a frame at a yard sale or secondhand store, but large, chunky, gold frames are hard to find.  I had been eyeing this frame for awhile, but was waiting for the right time to buy it.  the right time is obviously when there's a sale.  regularly priced at $79.99, that's more than I would usually [read: ever] spend on a frame.  so when the frames were marked 50% off, I snagged this baby and a smaller 8x10, as well.  the frame was backless; so after giving my husband the dimensions, he cut some cardboard at work and brought it home to use as my backing.

I wish I could say this involved a fancier process, but maybe the simplicity of it will make it a more attainable diy project.  first, I measured my fabric against my frame, leaving a little extra around the edge, and cut it.  I just eyeballed it—no rulers or measuring tape needed.  I had a good bit of fabric leftover, too.  next, I steamed the linen fabric.  then, I stretched and wrapped the fabric over the cardboard and hot glued the edge of the fabric onto the backside of the cardboard.  after steaming the dress and using my straightener to iron out the collar [doesn't everyone do this?], I laid the dress onto the fabric covering and arranged it how I wanted it to look when hung.  using straight pins, I secured the dress onto the cardboard—first along the top, then along the bottom.  I then rested the frame against the wall and fastened the rest of the dress to the fabric.  it helped to stand the frame up so I could insert the pins completely through the cardboard and I was better able to see how it would look, rather than laying it flat on the ground.

once the dress was secured onto the fabric covered cardboard, I called my husband into our bedroom to ask him what he thought.  he was sweet, as always, and told me he loved it.  I mean, what guy doesn't want a framed baby dress hanging over his head?  literally.  I know he probably could not care less about this project or many of the things I do around our house, but he always humors me and is complimentary about these kinds of things. this is how I know he really loves me.  that, and one time he went to Walmart at night to get me coffee ice cream.  because for whatever reason, Blue Bell coffee ice cream is "not available" on Walmart's grocery pickup in our area and we had run out [aka it was an emergency].  this might not seem like a big deal, but this is the same guy who buys our dog food from a drug store, meaning he pays substantially [$3ish] more, just to avoid stepping foot in Walmart.  that was the night I knew he really loved me.  we've been married nearly four years and I thought he might before that, but this is how I knew.

I love the way this project turned out.  I tend to lean towards a more southern, traditional style and I think this embodies that.  I already had scissors, a glue gun, and straight pins; so between the frame, the fabric, and the dress, the grand total comes to $55ish.  not too shabby if you ask me.

what do you think?  would you ever hang a framed baby dress in your home?  or drop everything to run to the store to pick up ice cream for someone you love?

IMG_5308.jpg
IMG_5305.jpg
IMG_5314.jpg

tuesday tips: my bathroom must-haves

It's time for another edition of Tuesday Tips!  today I am sharing my bathroom must-haves.  these are simple ideas, but they have the potential to give your bathroom a little something extra.

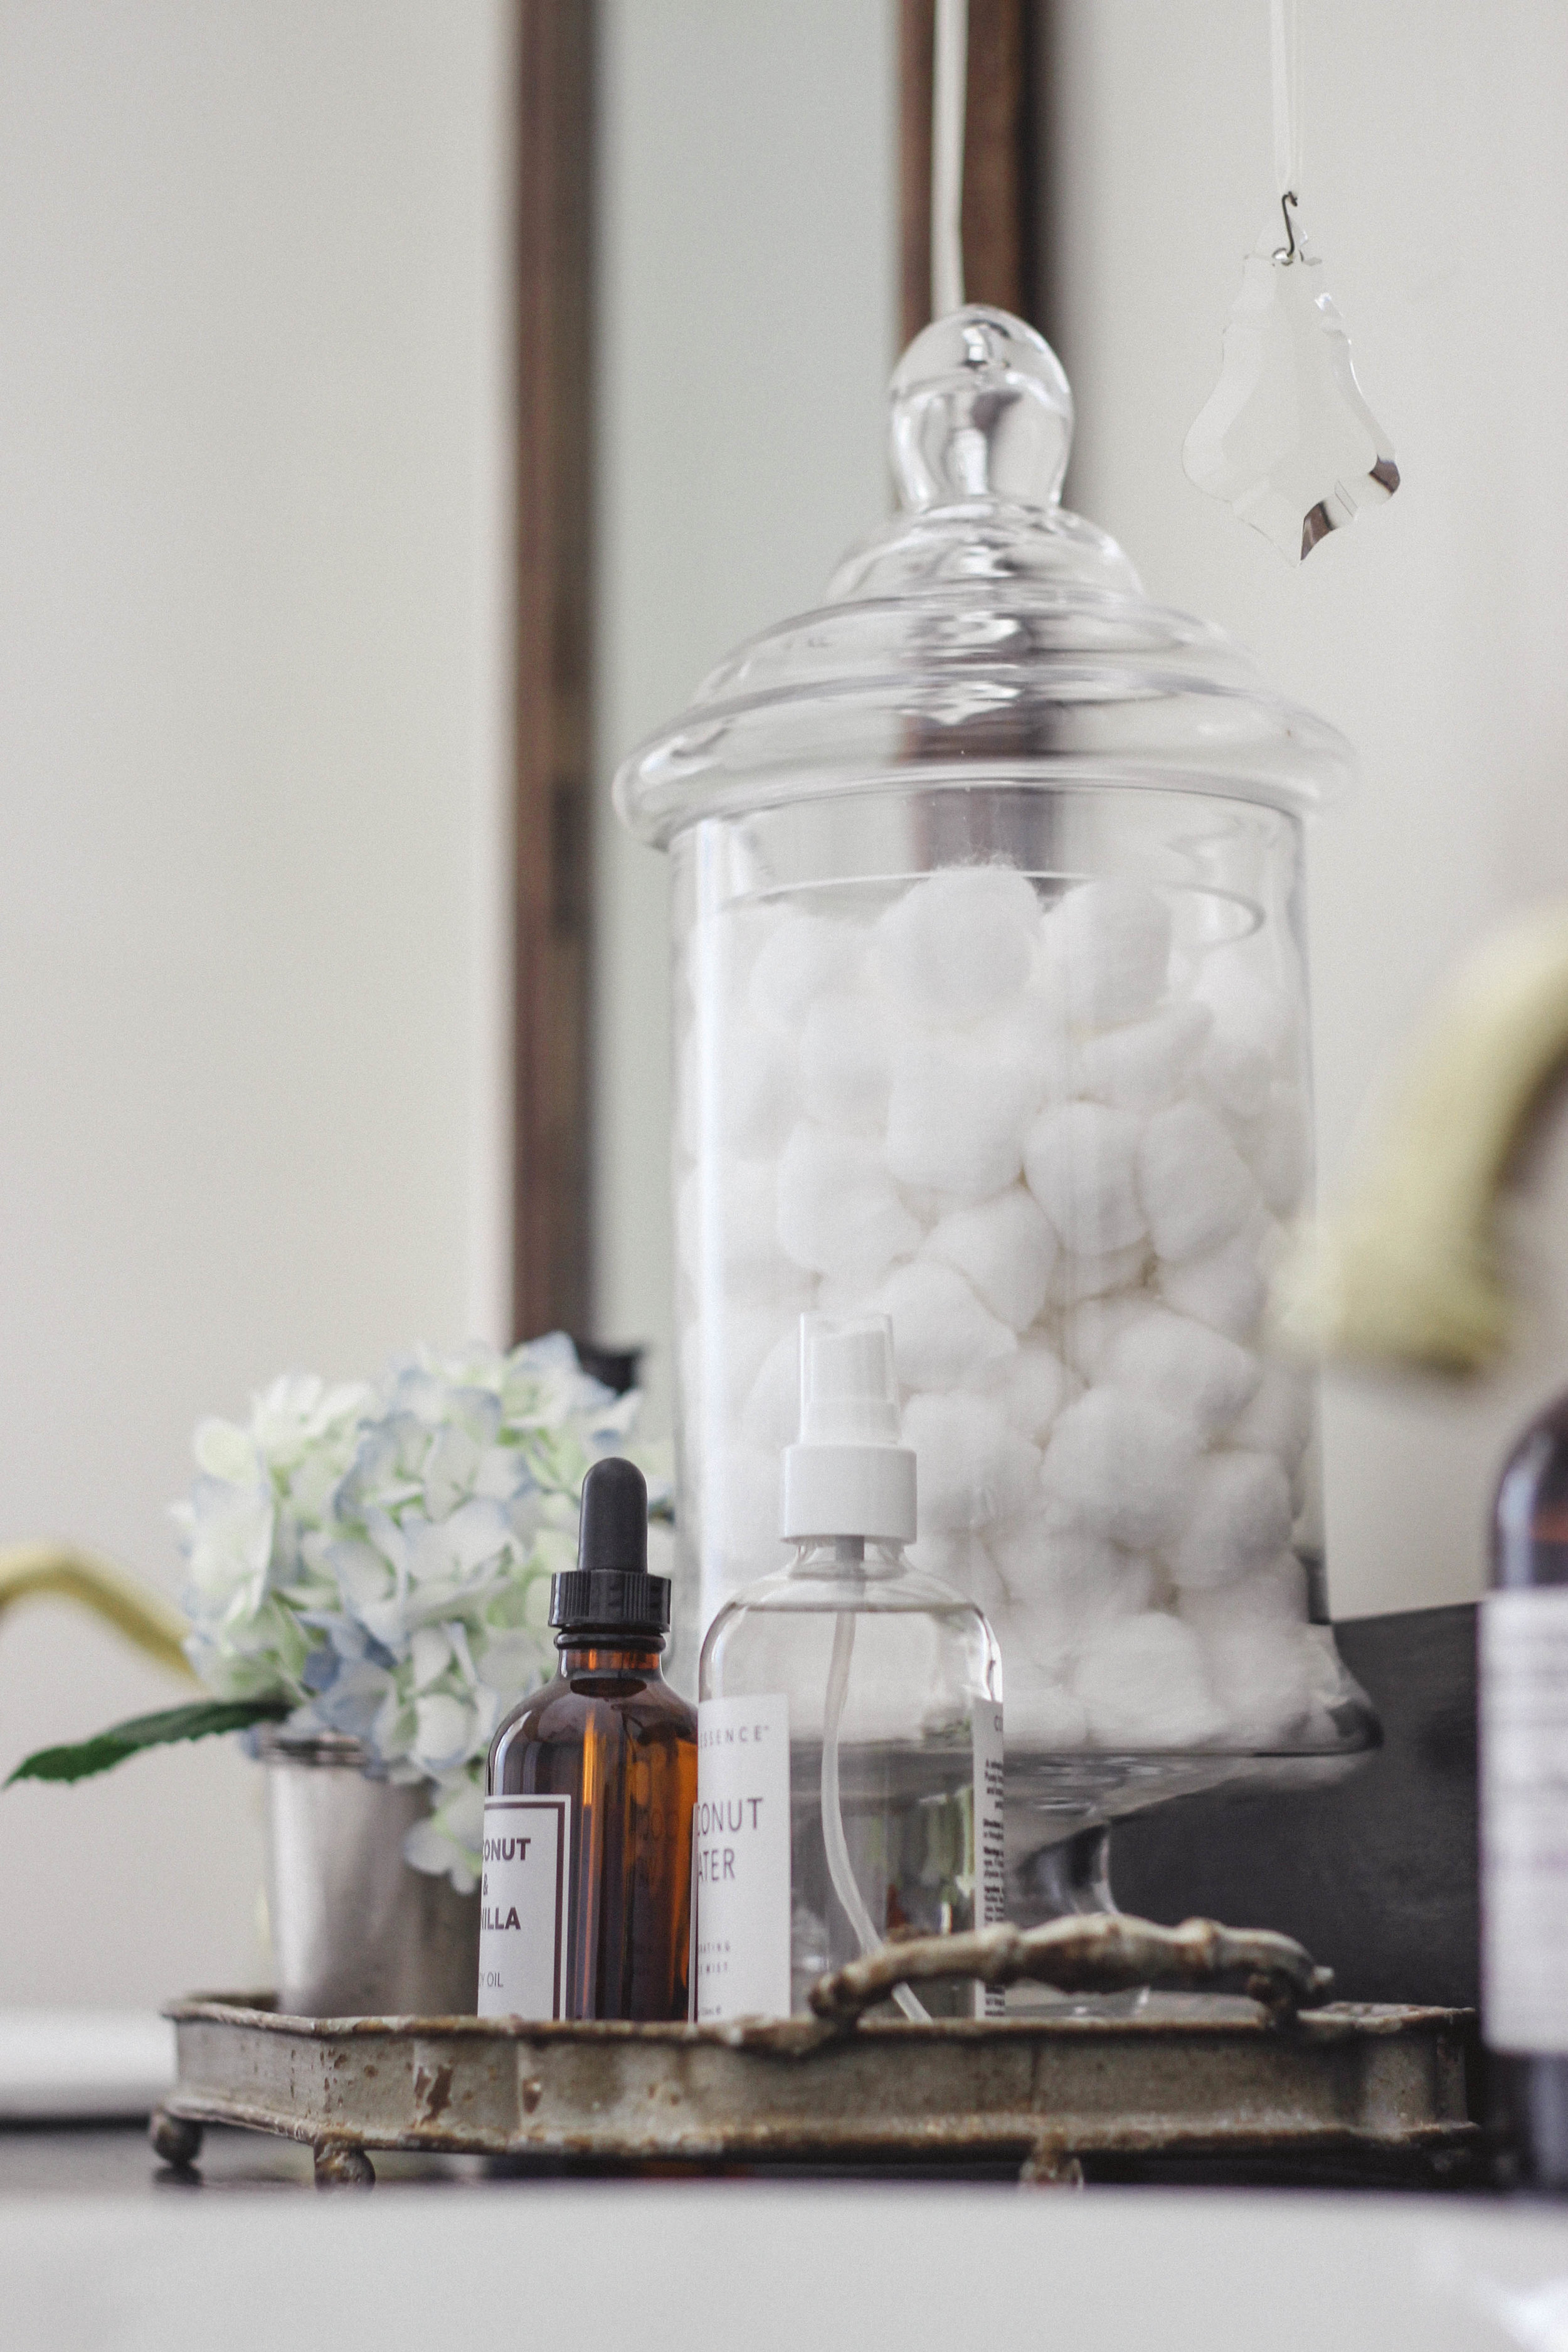
apothecary jar

apothecary jars have been a staple in my bathroom since I got married.  they double as storage that is visually pleasing, as well as decor.  in the original tiny white house, in our single bathroom, we had a small pedestal sink [read: no counter space] and almost no storage, except for a little open cabinet.  I kept wash cloths + toilet paper in baskets inside the cabinet.  on top of it on a mirrored tray, I kept a jar full of cotton balls.  it looked pretty and it was practical.  if you're not one for cotton balls, you can store whatever it is you do like... bars of soap, q-tips, sponges, bath salts—you name it.

IMG_4663.jpg

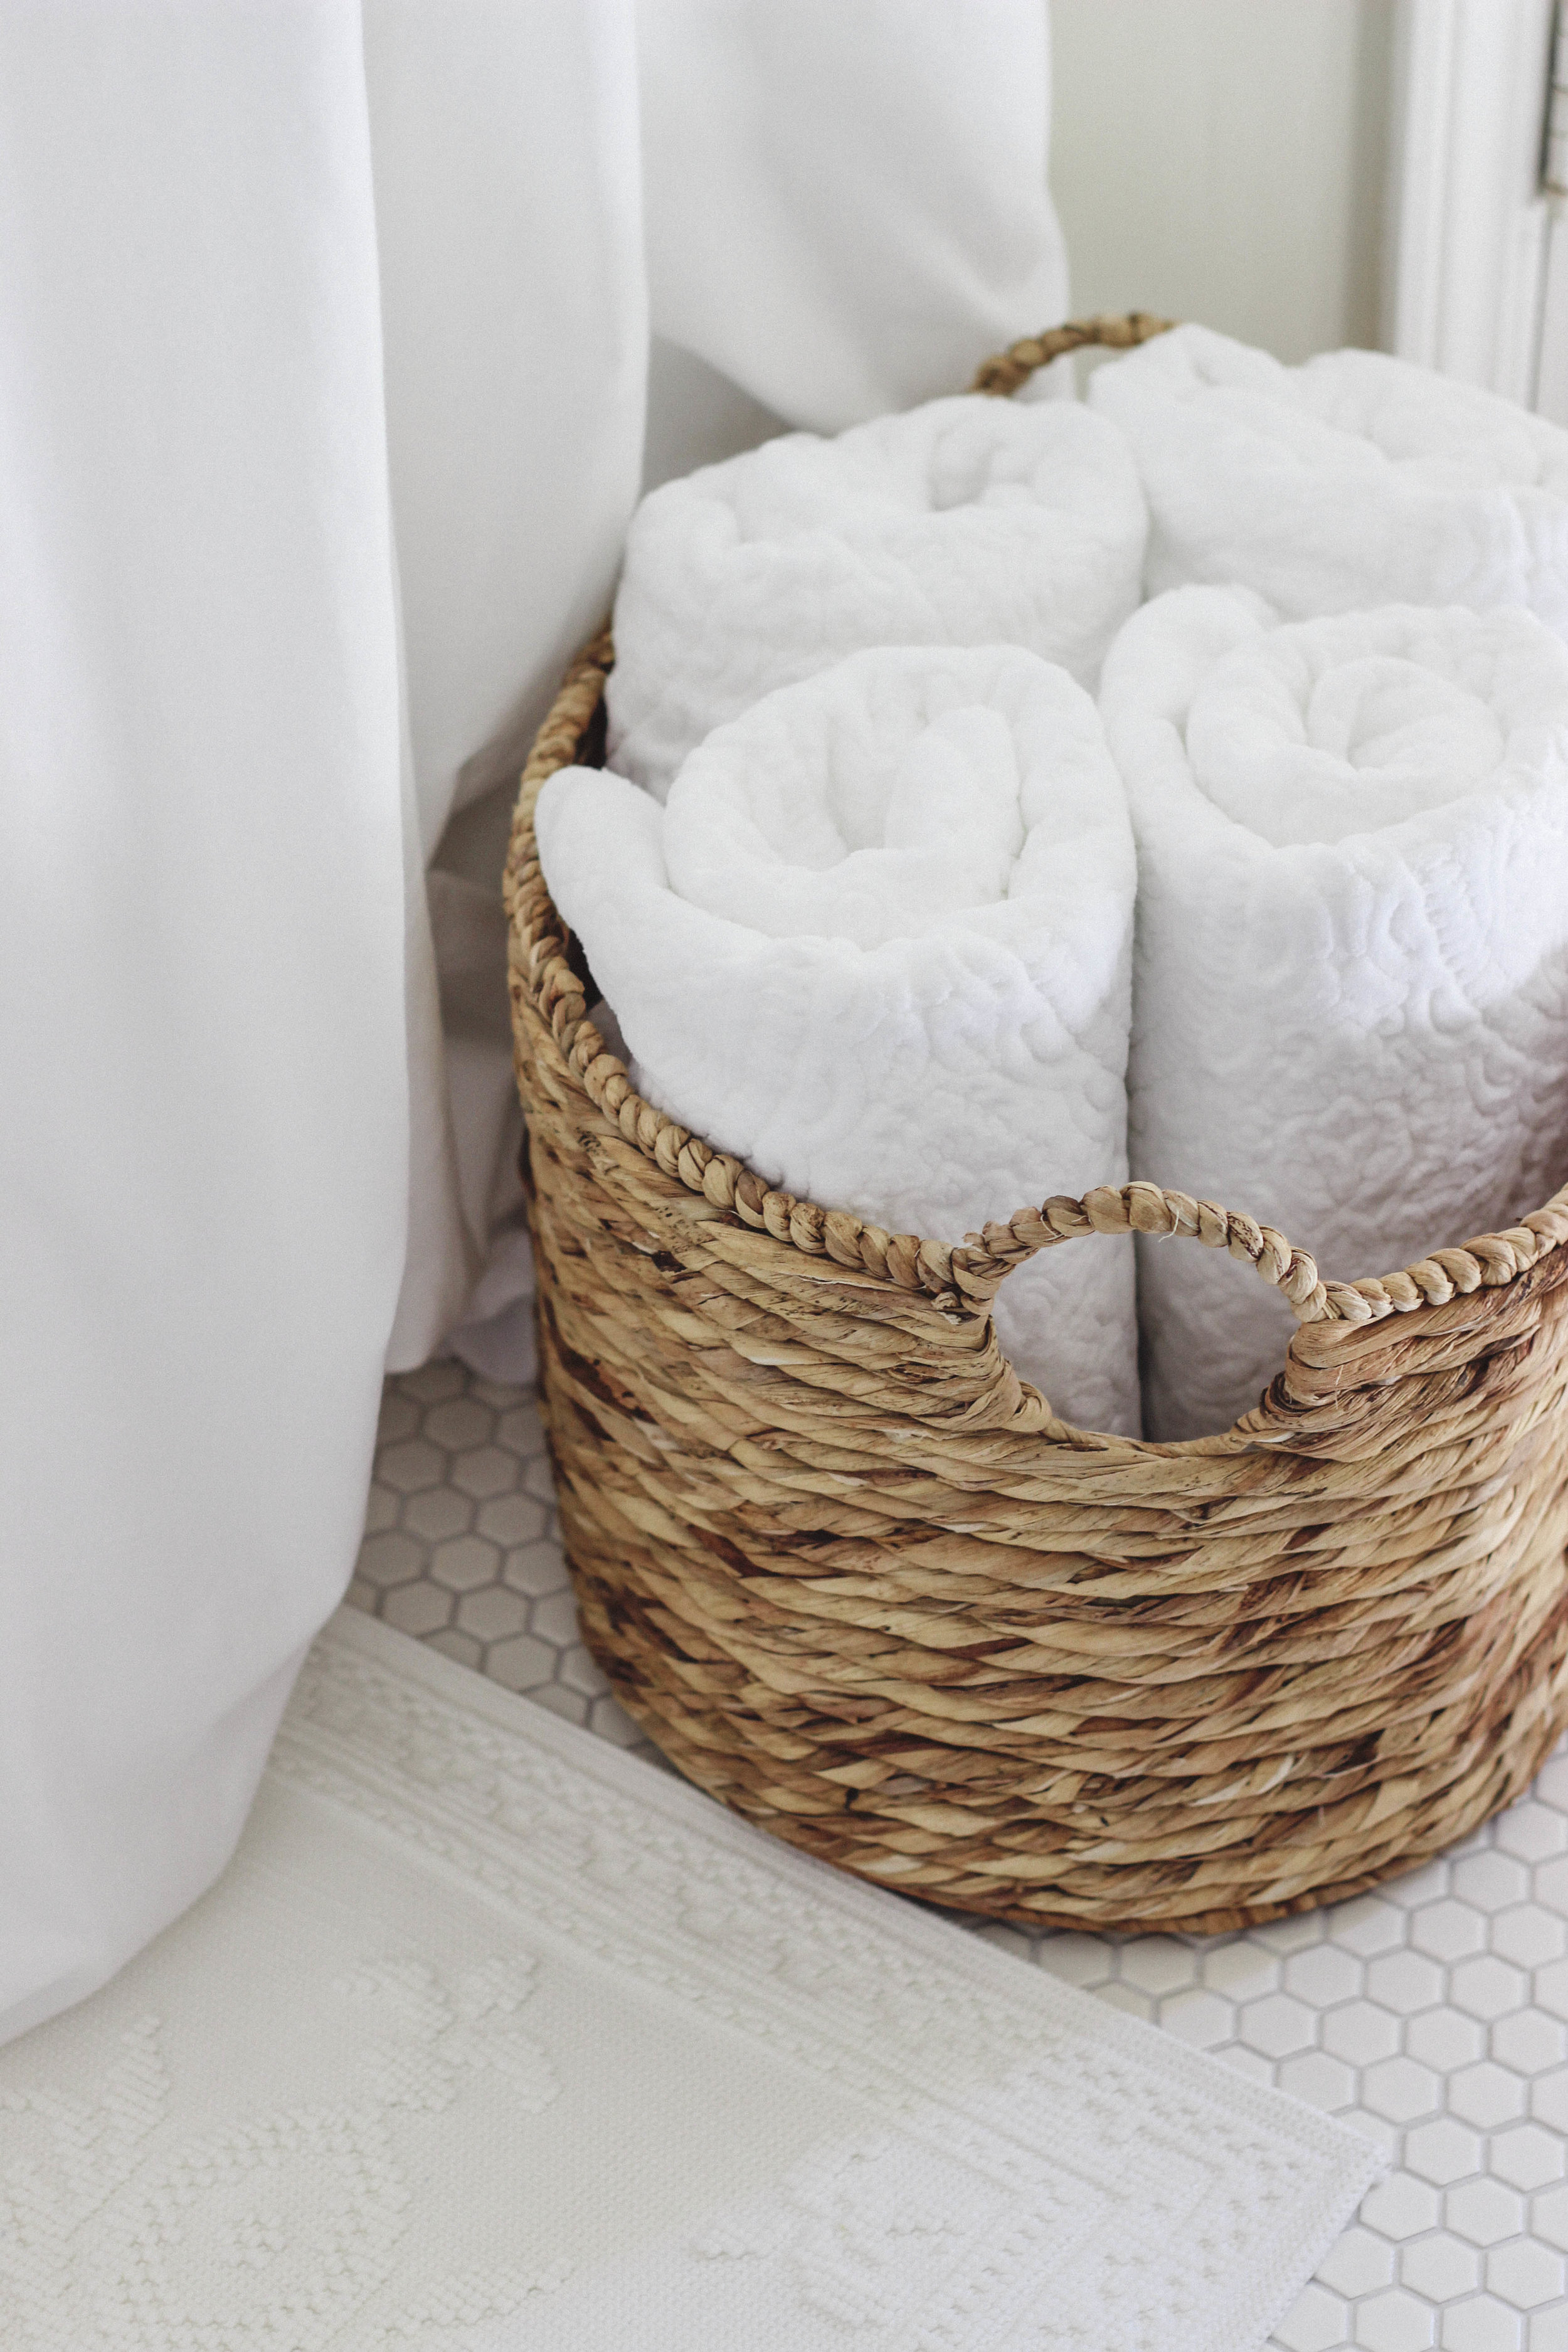
basket for towels

whether your bathroom has a linen closet or not, filling a basket with towels is a great idea.  it's nice for easy access to towels and creates storage if you don't have a linen closet or cabinet in which to store them.  maybe you do have somewhere to store towels and maybe not all your towels are "pretty."  that's okay and real life.  consider investing in a few nicer, decorative towels and having them displayed in a basket or on an open shelf.  this could also be helpful to guests!  having towels in plain sight may keep them from having to rummage through your cabinets + closets in search of one.

IMG_4451.jpg

pretty soap

this is a little trick I shared as my last Tuesday Tip.  pretty soap dispensers and bars of soap can make a world of difference!  whether it's a plastic or glass dispenser or a bar, you can find aesthetically pleasing soap at stores like TJ Maxx and Tuesday Morning.  and they don't cost much!  another plus: when it's empty, you can save the bottle + refill it with the soap fragrance of your choice.

trays

this is another item you'll find in my bathrooms, as well as scattered throughout my home + decor.  these can serve many purposes, both decorative and practical.  whether it's acting as a base for a vignette or corralling all your toiletries into one space, trays are good for just about anything.  they create interest, add texture, and help keep things organized.

white towels

I keep white towels in both our master bath and upstairs bath.  there are so many benefits to white towels!  not only do they look bright + clean, but they can also be bleached if necessary.  in addition to this, they create a spa-like feeling in a bathroom.  stores like TJ Maxx and Home Goods have inexpensive, quality towels.

And that's today's Tuesday Tip.  what do you think?  what are your bathroom must-haves?