this post was actually written in June 2017. as is my tendency when it comes to blogging, I composed it rather quickly, but took months to complete a photoshoot to go along with it. I have been asked about our window treatments a few times, so I figured now would be a good time to [finally] share about it on the blog. the remainder of this post will be written from my point of view ten months ago, when I was 33 weeks pregnant, just having finished the DIY renovation of our home, merely weeks away from the arrival of our second baby, as that is when it was originally written.
You know how when you move into a new place, there are a million things to do? and some of it's fun, and some of it's not. I think most would agree that unpacking isn't considered fun. on the other hand, many would say that decorating and adding your own personal touch to make it a home can be pretty fun. I have so enjoyed this part of moving into a new home. whatever your feelings on the matter, I think we can all agree that it is a process. from the actual moving to the unpacking to the organizing to the decorating and hanging pictures and curtains... it's a lot of work and it takes time.
I had to come to grips with this when we moved into this house. I had to learn to be okay with not having everything done or finished or just so. at times, this was a struggle. but as we completed [or mostly completed] projects on the extensive to-do list, my husband and I both got comfortable and kind of took a break. I mean, the house was livable and we had already made so much progress and we were tired and we have a one year old and we've got another one on the way, so a break from the renovations and house projects sounded nice. but then a few weeks ago, I woke up in the middle of the night and realized: if we aren't getting things done now, why should I think they will get done after we bring another baby home in a few short months? and that was all the motivation we needed! within weeks, the rest of the quarter round was installed, my husband built more shelving for my closet, the butcher block countertops were finally complete, all the new exterior doorknobs and locks were installed. we were on a roll.
one of the things halfway marked off the list was window treatments. they were done in about half the rooms; and I'd started on them in the other half, but then took a break. after that 3am epiphany, I got my act together and set out to work on completing the window treatments.
here's what I knew:
I wanted something simple and linen-like
I wanted to hang my rods high
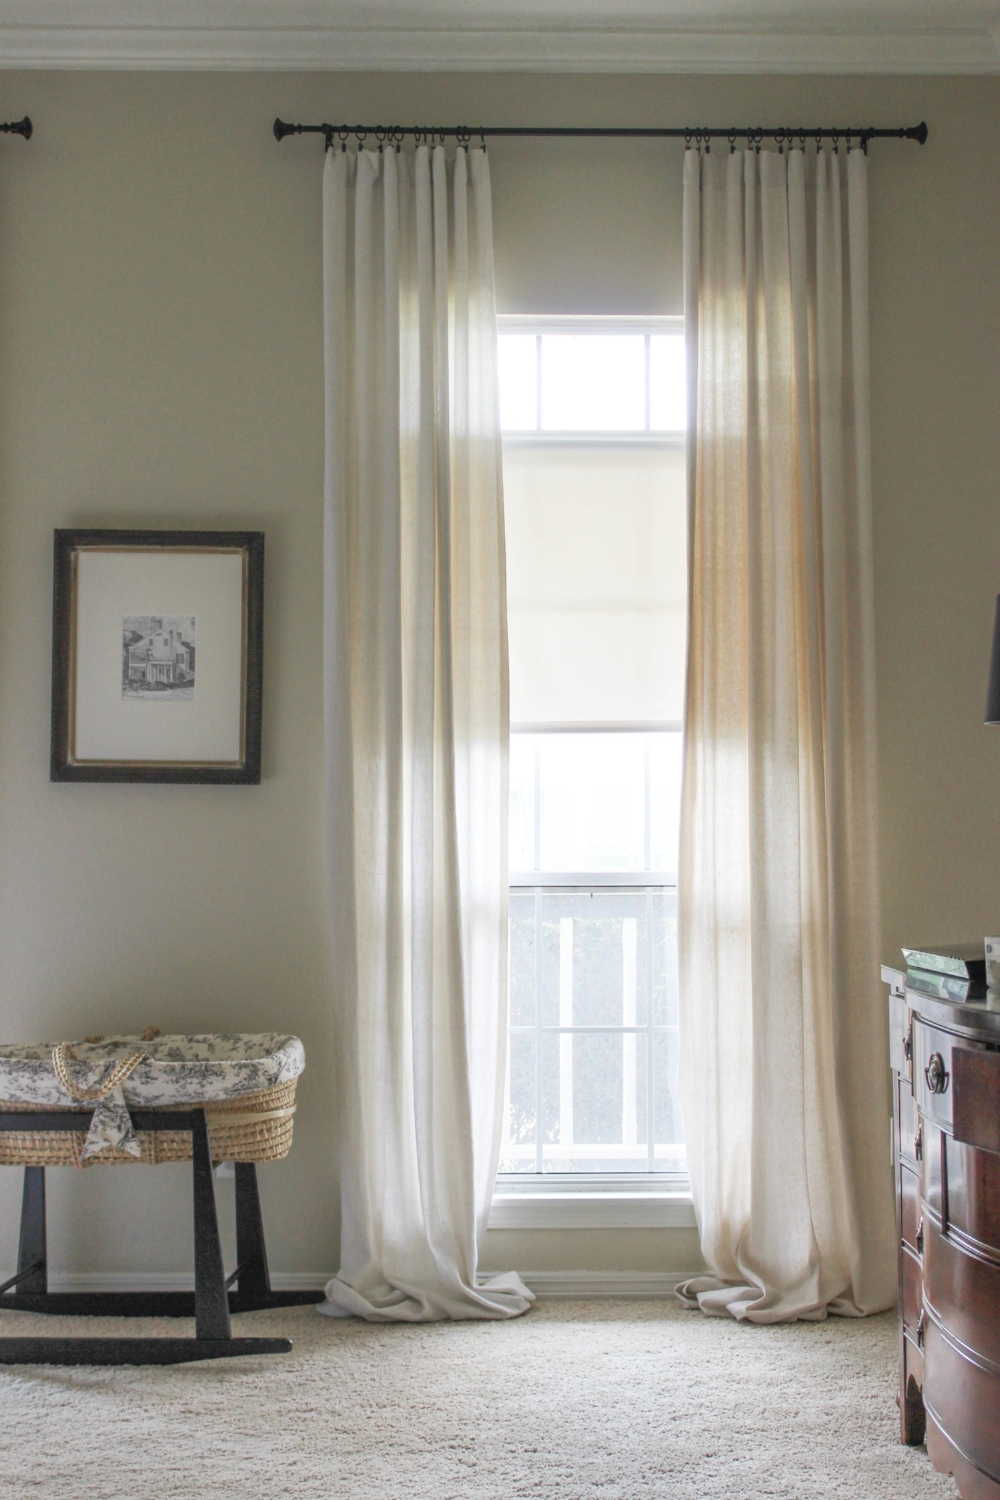
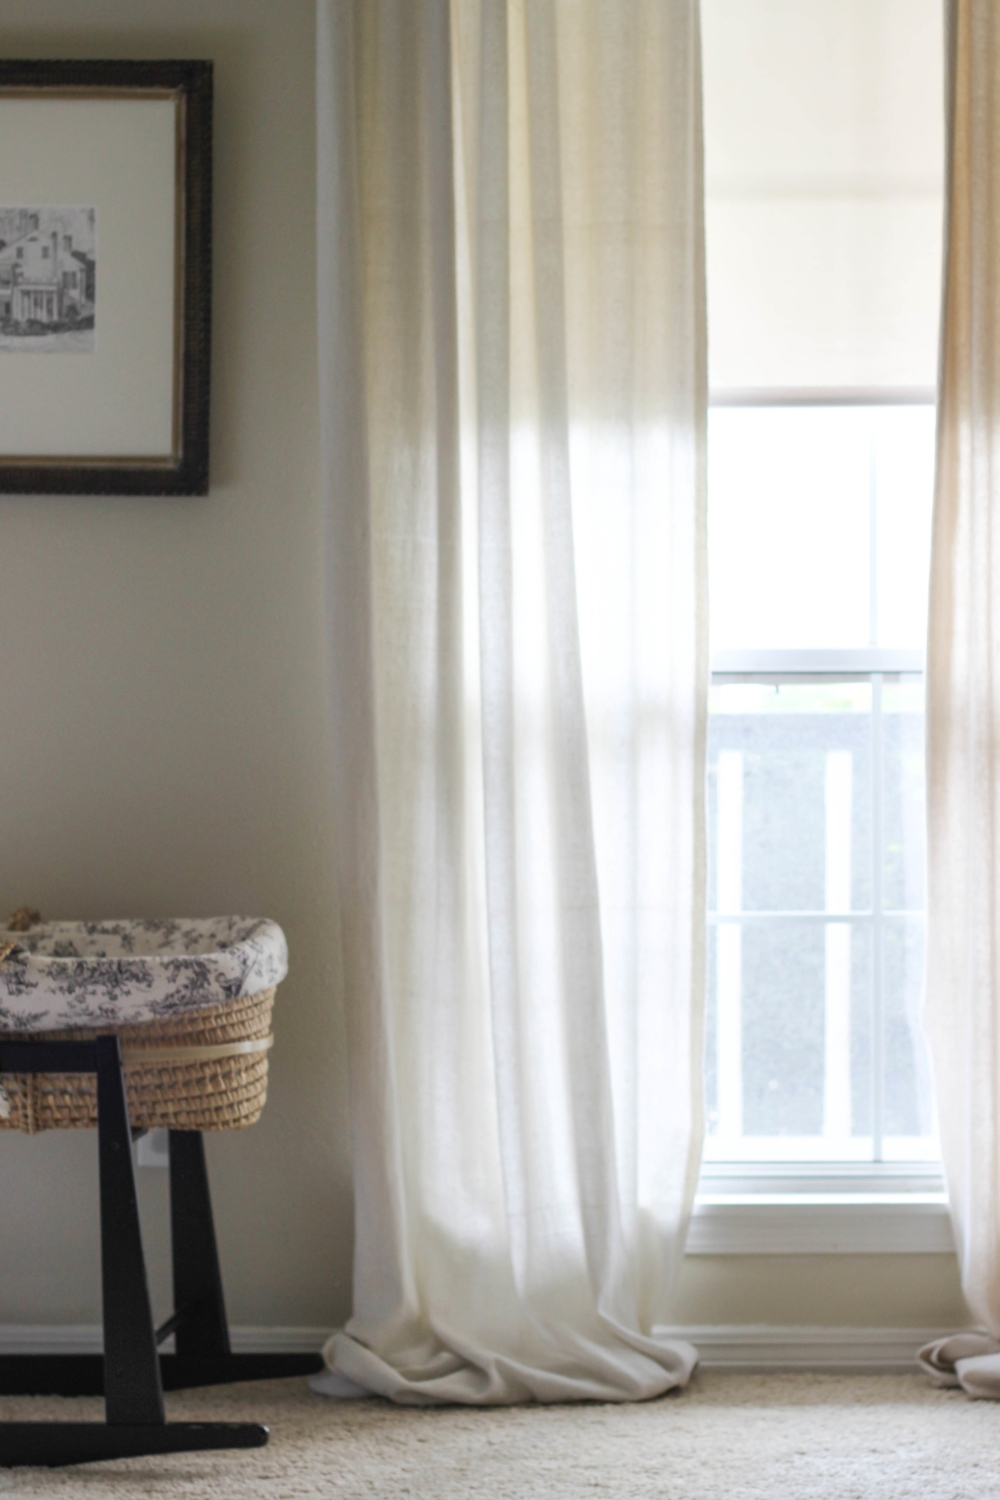
I wanted my curtains to puddle
I had four large windows [ 72" + a 10" transom] to dress up
I had seen some gorgeous ready-made panels at a local fabric store while helping a client months earlier. I remembered them being on the pricey side, but I reasoned that if they were what I wanted and were ready to go, it may be worth splurging. so, to the fabric store I went! as I looked at these panels again, I realized even the longest length wasn't long enough for my windows. also, they were $150 a pop. yes, you read that right. one hundred fifty dollars per window panel. if I did two panels per window, I was looking at $300. if I wanted all my windows done, in the master + living, which I did, I was looking at spending $1200, plus tax. on curtains. having done design work for a contractor and renovated our own home, I am well aware that things for the home can be costly, but that just wasn't going to cut the mustard.
so after a little brainstorming, I decided that canvas drop cloths were the best, most cost-effective option. perhaps you've heard of this. it's become a popular go-to thanks to Pinterest—and for good reason! canvas drop cloths are versatile and can be used in all sorts of DIY projects. in regards to window treatments, they can be used as-is, meaning right from the package, sew or no-sew, and hang. in fact, I currently have drop cloth curtains in the nursery.
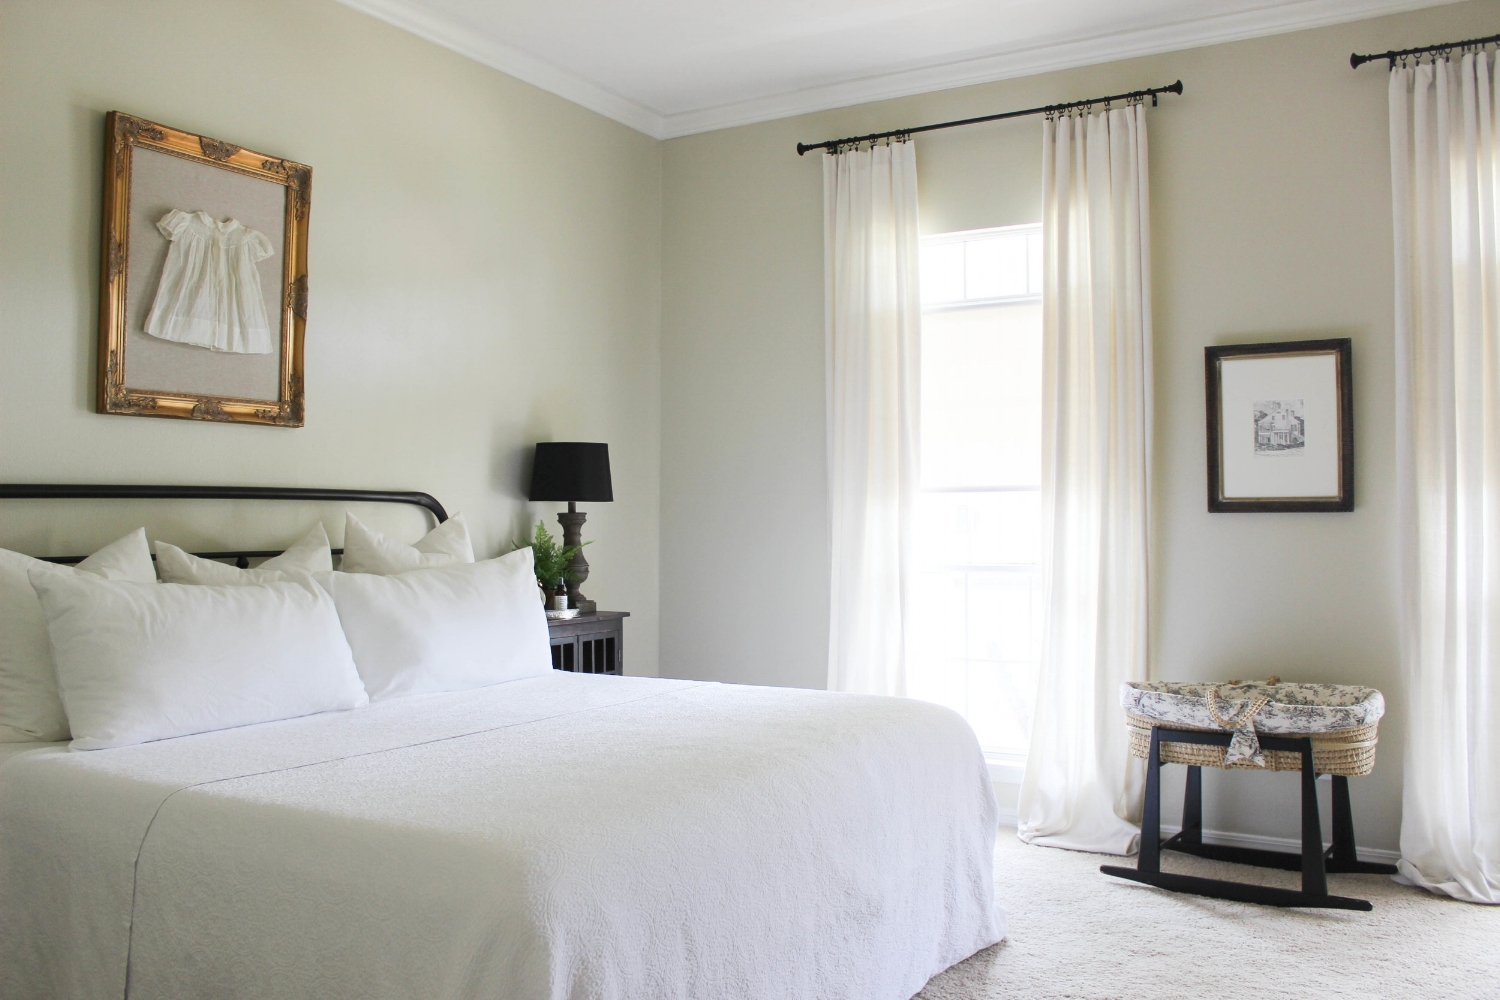
The wall color is Sherwin William's Wool Skein. this was in the original tiny white house and it's one of my go-to paint colors. I know grays are super in right now, but I've never been a big fan myself. they feel too cold for my taste. at the same time, I didn't want to paint everything white. I loved Wool Skein in our old house, so we decided to use it as our wall color throughout in this house. I love it, still; but it matches the natural color of canvas drop cloths almost exactly. I wanted there to be some contrast between my walls + drapes; so after doing some research, I decided to bleach mine to lighten and soften them. they say this gives them more of a linen look + feel, as well. so, I bought lots of bleach and got to work.
for this project, I used a 9x12 drop cloth. I'm not great with numbers; but I figured that if I cut it in half twice, I could have four 9x3 panels. this would be enough for the master bedroom, allowing two panels per window. however, once I got the drop cloth out of the packaging, I noticed the seam ran long ways, down the 12' length. I didn't want a seam running across them horizontally, so I split them in half, along the seam, and hemmed the raw edge. then the bleaching process began.
this was the trickiest part of all. it was kind of like a science experiment. I read a few blog tutorials on how-to. there are several different recipes on bleaching drop cloths, and I kind of mixed a few together. but the gist of it is this: take your drop cloth, place it in a top loader washing machine, start a normal wash cycle, fill washer with water + 8 cups of bleach. after the washer fills and before the cycle actually begins, stop it. let it soak 3-4 hours. turn the washer back on to complete the cycle/drain the bleach + water mixture. once that's done, restart the washer on a normal cycle and add detergent. do this once more. in one of these last two cycles using detergent, I added a cup of hydrogen peroxide. I read this neutralizes the bleach and keeps it from breaking down the fibers. throw it in the dryer. and voila! bleached drop cloths.
I only did one drop cloth at a time so it would be completely submerged and that's what made it so difficult. I had to follow the exact recipe for each canvas. the first time around, I soaked the drop cloth in the bleach + water mix in my washing machine for three hours. then I followed the above recipe. but on the next go-round, I started the three hour bleaching process and then left the house to go run errands. I didn't return home to finish it until four hours later. it was kind of a happy accident, though, because that extra hour made a dramatic difference and I ended up following that recipe for the rest.
then it was time for the fun part. dressing up the windows! my handymen [read: father and husband] hung my rods high + wide. this creates the allusion of higher ceilings + bigger windows. in my case, the ceilings really are higher and the windows are a good size. I love this about my house. next, I placed my ring clips onto my panels and inserted the ring clips + panels onto the rod and hung them. I squealed at the finished product. my husband squealed at the finished product. shh—don't tell his friends! okay, maybe he didn't squeal, but he was very complimentary and a little too excited. but for good reason! you see, we live at the end and on the corner of our street so the streetlights beam right into our bedroom at night, even through our temporary curtains. we've mostly gotten used to it, but he had asked more than once when we would have "real curtains" in our bedroom. bless his heart—real for him means painters' drop cloths.
below is a breakdown of the cost:
9x12 canvas drop cloth - $21.98
3.78 quarts of bleach - $4.72
hydrogen peroxide - 98¢
drapery rod - $15
ring clips - $4.74 [I used 2.5 packs per window]
that comes out to be less than $55/window for "fabric" material, hardware, and supplies, bringing the grand total to $220 for four 130" curtain panels.
I am thrilled with the finished product. they lighten our living room and master bedroom with their natural, mild color, while softening it at the same time as they puddle onto the floor. and honestly, the way the curtains are hung so high, I'd venture to say they make me feel fancy.
This will seem like too much work to some and too homemade to others, and that's okay. DIYing isn't for everyone, in the same way that paying a fortune for custom drapes isn't for everyone. there are a lot of things going on in my heart lately and I have been realizing that interior design + decorating is not my "dream" anymore. while I enjoy it, it's not what I want to do for the rest of my life, or at least to the extent that I thought I did. I love to create + work with my hands. I feel most like myself when I am doing these things, but I am beginning to think that this will look differently than what I envisioned even a few months ago. I don't exactly know what this means or what it will look like. I'm still figuring that out myself. but if you stick around, maybe we can find out together.

